A few screens, then you’re talking.
The first time Springle opens, it walks you through signing in and three Mac permissions, one screen at a time. Here’s each screen, and why Springle asks.
Setup is one window that asks for one thing per screen. If you close Springle halfway, it picks up where you left off next time. The dots at the top show how far along you are: signing in, about you, your Mac, and saying hello.
Welcome and sign in
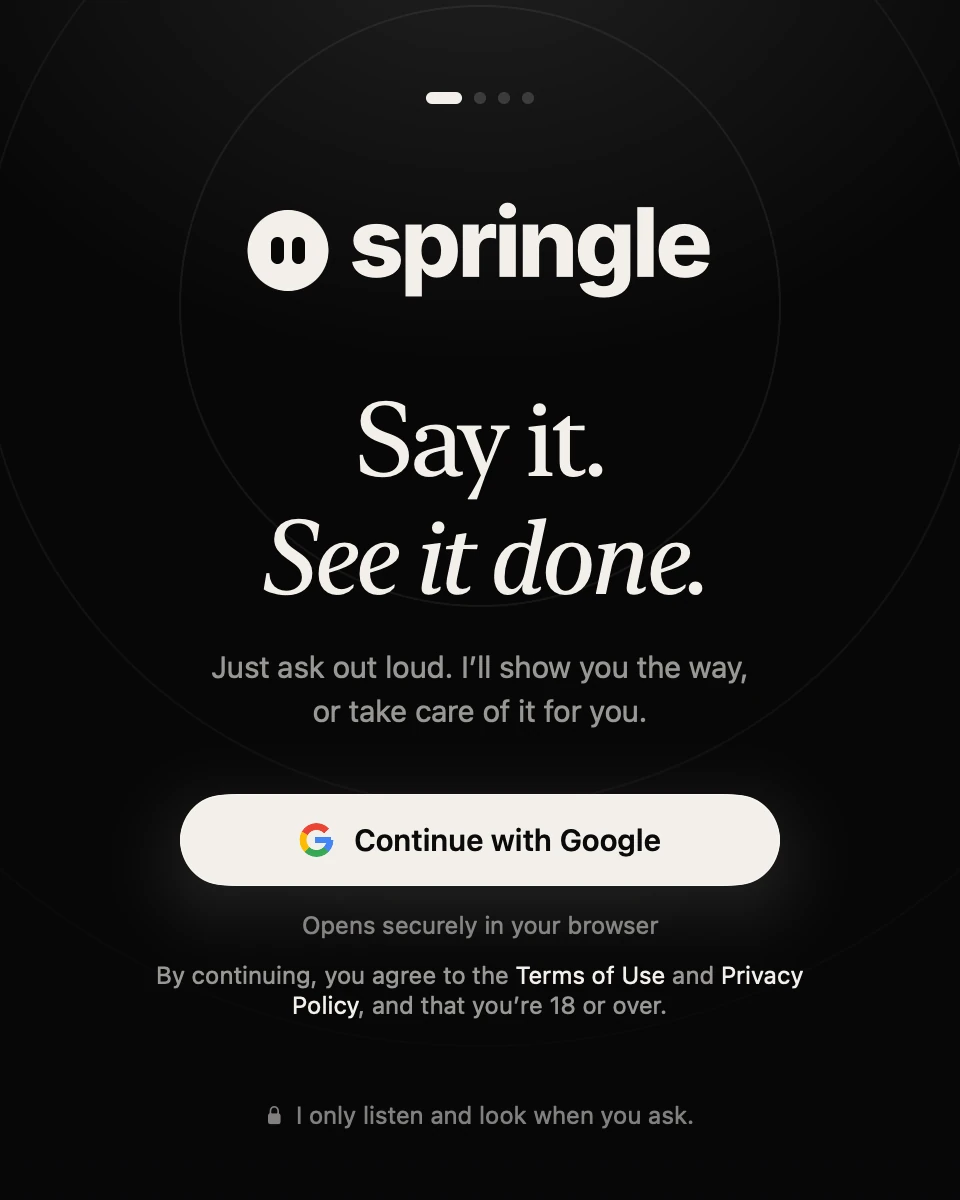
- 1The dots: four short stages, and this is the first.
- 2Continue with Google opens your browser to choose an account.
- 3What continuing means: you agree to the Terms of Use and Privacy Policy, and that you’re 18 or over.
- 4A promise that holds for the whole app: Springle only listens and looks when you ask.
- Click Continue with Google. Your browser opens so you can choose a Google account there.
- Springle brings you back by itself and says "You’re in." If the browser didn’t open, click Open again.
Springle is for people 18 and over. Your Google account is used for your plan, and for any apps you connect later. Signing in with Google doesn’t give Springle access to your Gmail or Drive. Each app is connected separately, only if you choose to.
About you
A question per screen, saved to your Springle account so another Mac doesn’t ask again:
- What should I call you? Only if Google didn’t give a name.
- When’s your birthday? It stays private to your account.
- How did you find Springle?
Microphone
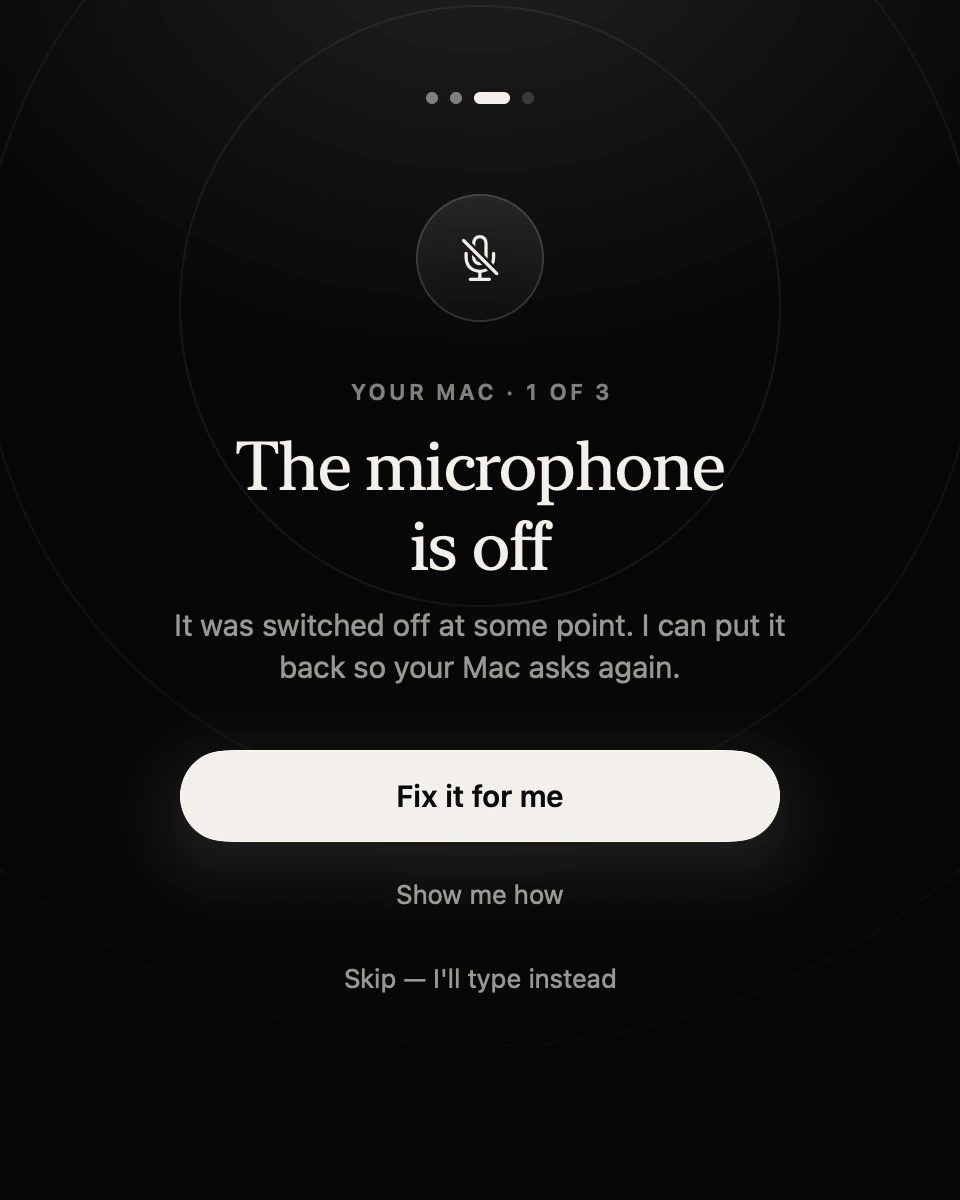
- 1"Your Mac · 1 of 3": the first of the three permissions.
- 2Fix it for me: this Mac had the microphone switched off before, so Springle offers to put it back.
- 3Show me how lists the steps to do it yourself in System Settings.
- 4Skip, and you type to Springle instead. You can switch the microphone on later.
What it’s for: so you can talk to Springle. It listens only while you hold ⌃ control ⌥ option, or during a spoken conversation you started. The rest of the time the microphone is off.
- The screen says Can I hear you? Click Allow microphone.
- Your Mac shows its own question. Click Allow.
Springle may also ask for Speech Recognition straight after. That lets your Mac write down your words itself when it needs to, for example when you dictate into the notebook.
If the microphone was switched off at some point, the screen says The microphone is off and offers Fix it for me, which puts Springle back so your Mac asks again. If someone else manages this Mac and has blocked the microphone, Springle says so. Ask them to allow it.
Don’t want to talk? Click Skip — I’ll type instead. Springle works fully by typing: tap ⌃⌥ to open the text box. See Type to Springle.
Accessibility
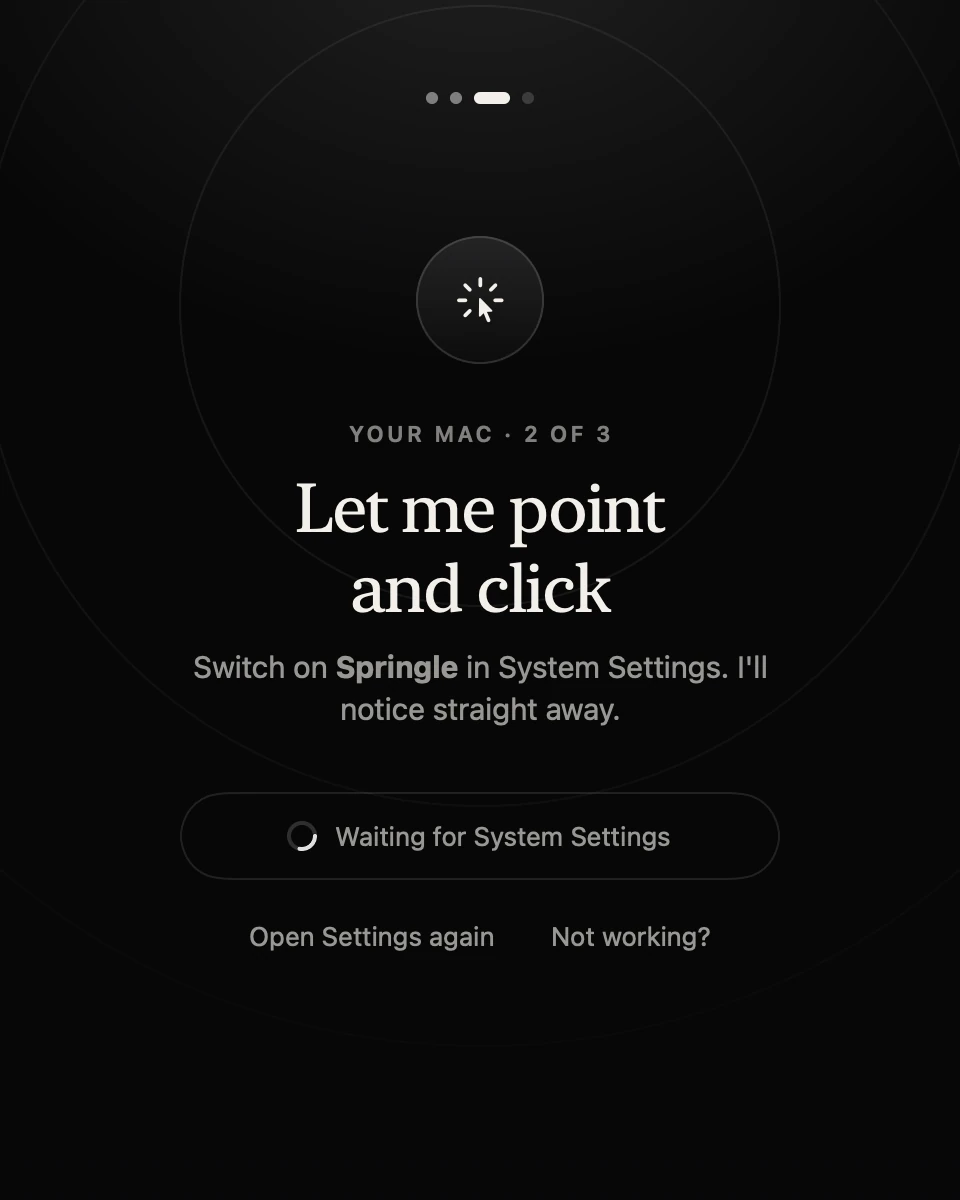
- 1"Your Mac · 2 of 3".
- 2Springle is waiting for you to switch it on in System Settings, and will notice straight away.
- 3Open Settings again brings System Settings back to the front.
- 4Not working? shows help before you get stuck.
What it’s for: so Springle can find buttons on your screen, show you where they are, click and type when you ask it to, and hear you hold ⌃⌥. Without it, holding the keys does nothing.
- The screen says Let me point and click. Click Continue.
- Your Mac asks first. Choose Open System Settings.
- System Settings opens at Privacy & Security › Accessibility. Find Springle and switch it on. Your Mac may ask for your password or Touch ID. That’s normal.
- Springle notices within a moment, comes back to the front and shows a tick.
Before it asks, Springle clears out any old Springle entries in that list. It only touches its own entries, never anyone else’s.
Screen Recording
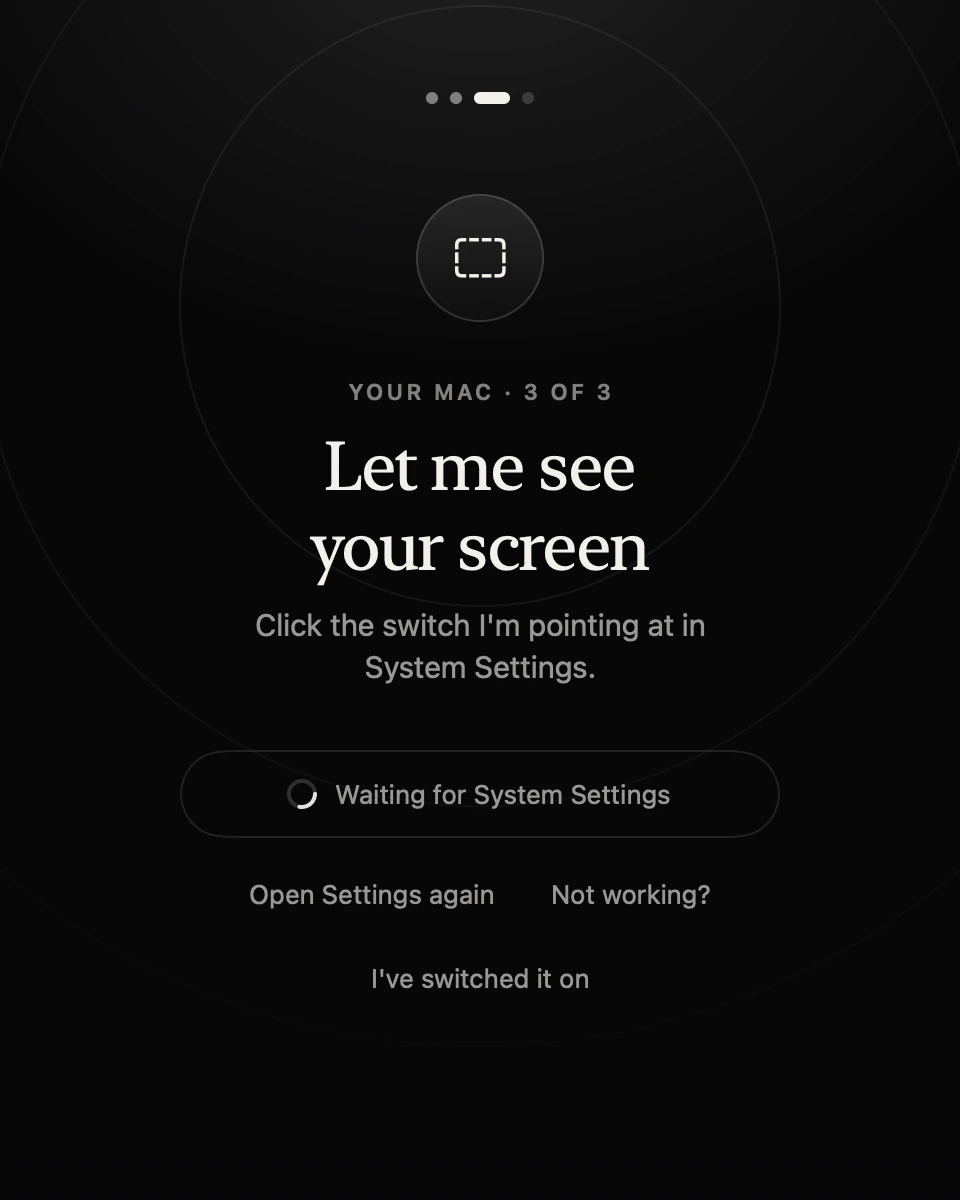
- 1"Your Mac · 3 of 3", the last permission.
- 2Springle points at its own switch in System Settings.
- 3Open Settings again, or Not working? for help.
- 4Already switched it on? I’ve switched it on takes you to the restart.
What it’s for: so Springle can see what you see, explain it and find things on it. It only looks while it’s helping you. While it can see your screen, a tiny green dot shows beside the island, like the camera light on a phone.
- The screen says Let me see your screen. Click Continue.
- System Settings opens at Privacy & Security › Screen Recording. Springle now has Accessibility, so it can point straight at its own switch. Click the switch.
- Your Mac says Springle must reopen before the change works. Click Quit & Reopen.
On newer versions of macOS this list may be called Screen & System Audio Recording. It’s the same switch.
One quick restart
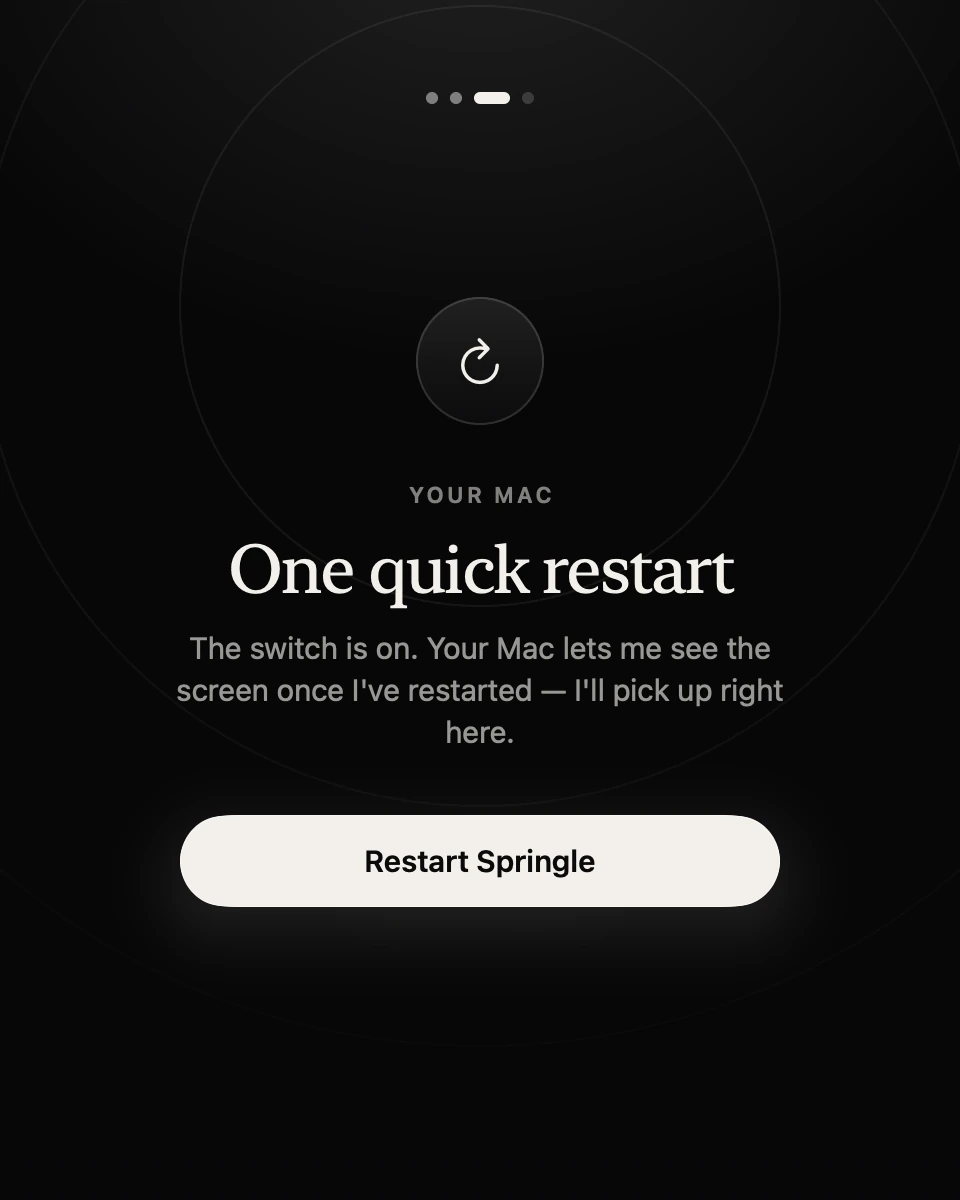
- 1The switch is on, but your Mac only lets Springle see the screen after it reopens.
- 2Restart Springle quits and opens it again. Setup carries on from here.
macOS only applies Screen Recording after an app reopens. If the switch is on but Springle can’t see yet, this screen appears. Click Restart Springle. It reopens in a few seconds and setup carries on.
The guide beside System Settings
You never have to find your way around System Settings alone. While you’re there:
- Before Springle has Accessibility, a small panel docks beside the System Settings window. It says Switch on Springle, shows what the switch looks like, and holds Springle’s icon. If Springle isn’t in the list, drag that icon into it.
- Once it has Accessibility, Springle puts a spotlight on its own switch: "Click this switch to turn Springle on." After you click, the spotlight steps aside for a moment so a password prompt is never dimmed.
If a switch won’t stay on
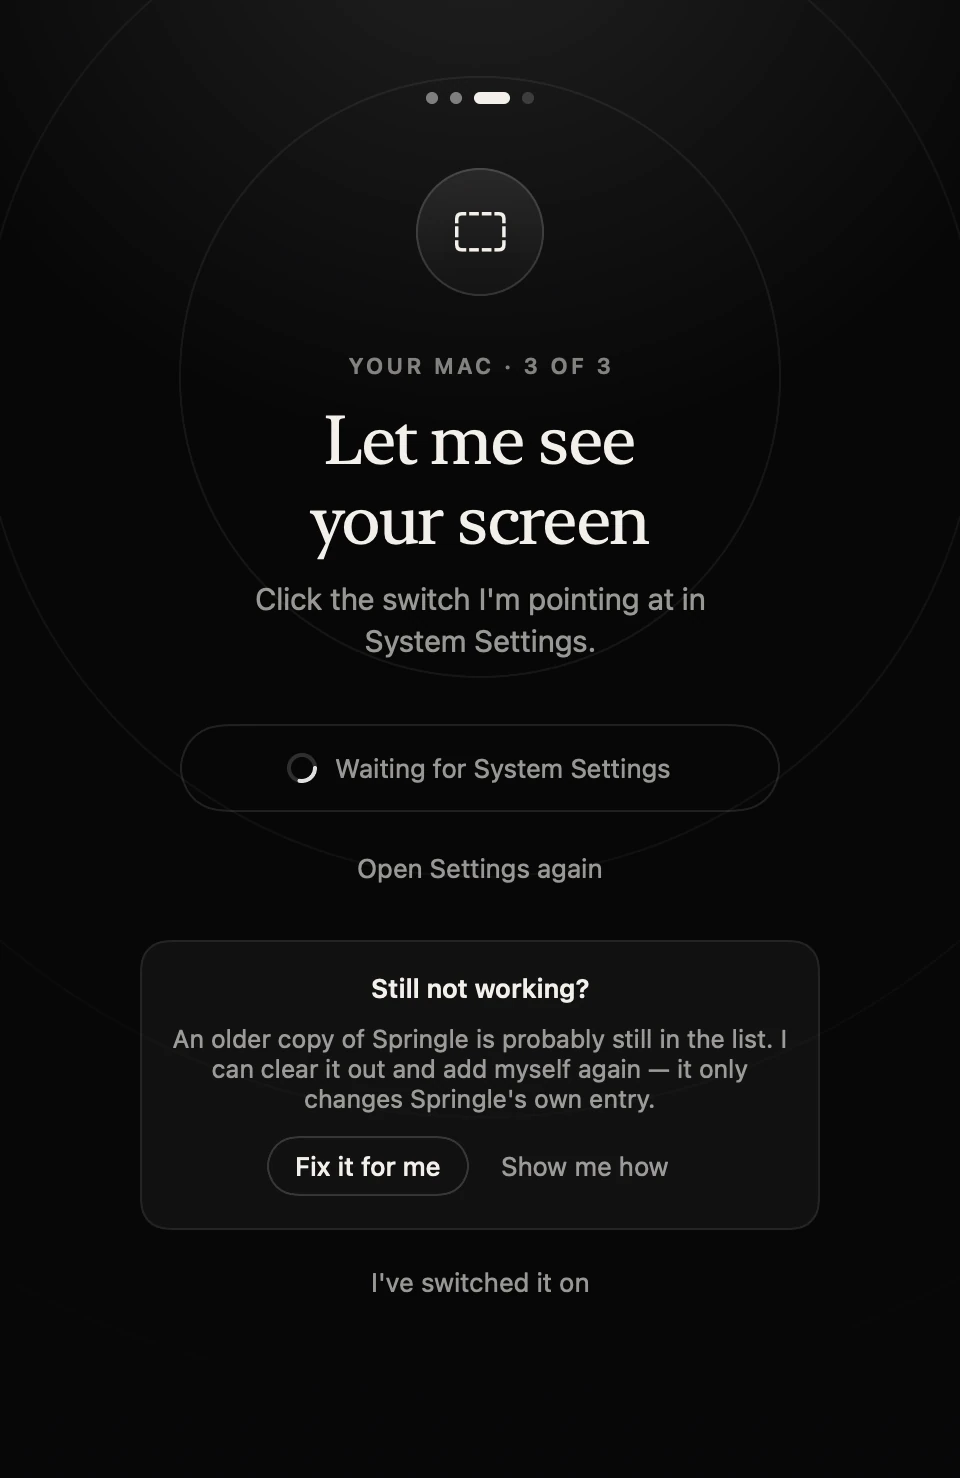
- 1Springle offers help only once it can tell you’re stuck.
- 2Fix it for me clears out Springle’s old entries and asks again.
- 3Show me how lists the same steps to do yourself.
The usual reason is an older copy of Springle still in the list. If you’ve been to System Settings and come back, or 25 seconds have passed, and the switch still isn’t on, Springle offers:
- Fix it for me: clears Springle’s own entries for that permission and asks again.
- Show me how: the steps by hand. In System Settings, select every "Springle" in the list and remove it with the minus (−) button. Press plus (+) and add Springle again (Show Springle in Finder shows where it is). Switch it on, then press Restart Springle.
More help: Screen Recording won't turn on.
You’re all set
When the three permissions are on, Springle says You’re all set and offers a short tour, about three minutes with your sound on. Click Take the tour, or Skip for now. On a new account’s first time through, the tour starts by itself after a short countdown, with Skip the tour underneath. See The tour.
At the bottom of this screen, Open Springle when my Mac starts is already ticked. Untick it if you’d rather open Springle yourself.
If you hold or tap ⌃⌥ on this screen, setup finishes and your first conversation starts straight away. The tour is skipped for now, and you can take it any time from the Help menu.
If VoiceOver is on, the tour waits for you to start it, and Springle mentions that VoiceOver uses Control and Option too. Use the right Command key switches Springle’s talk key to the right-hand ⌘ in one click.
Your plan
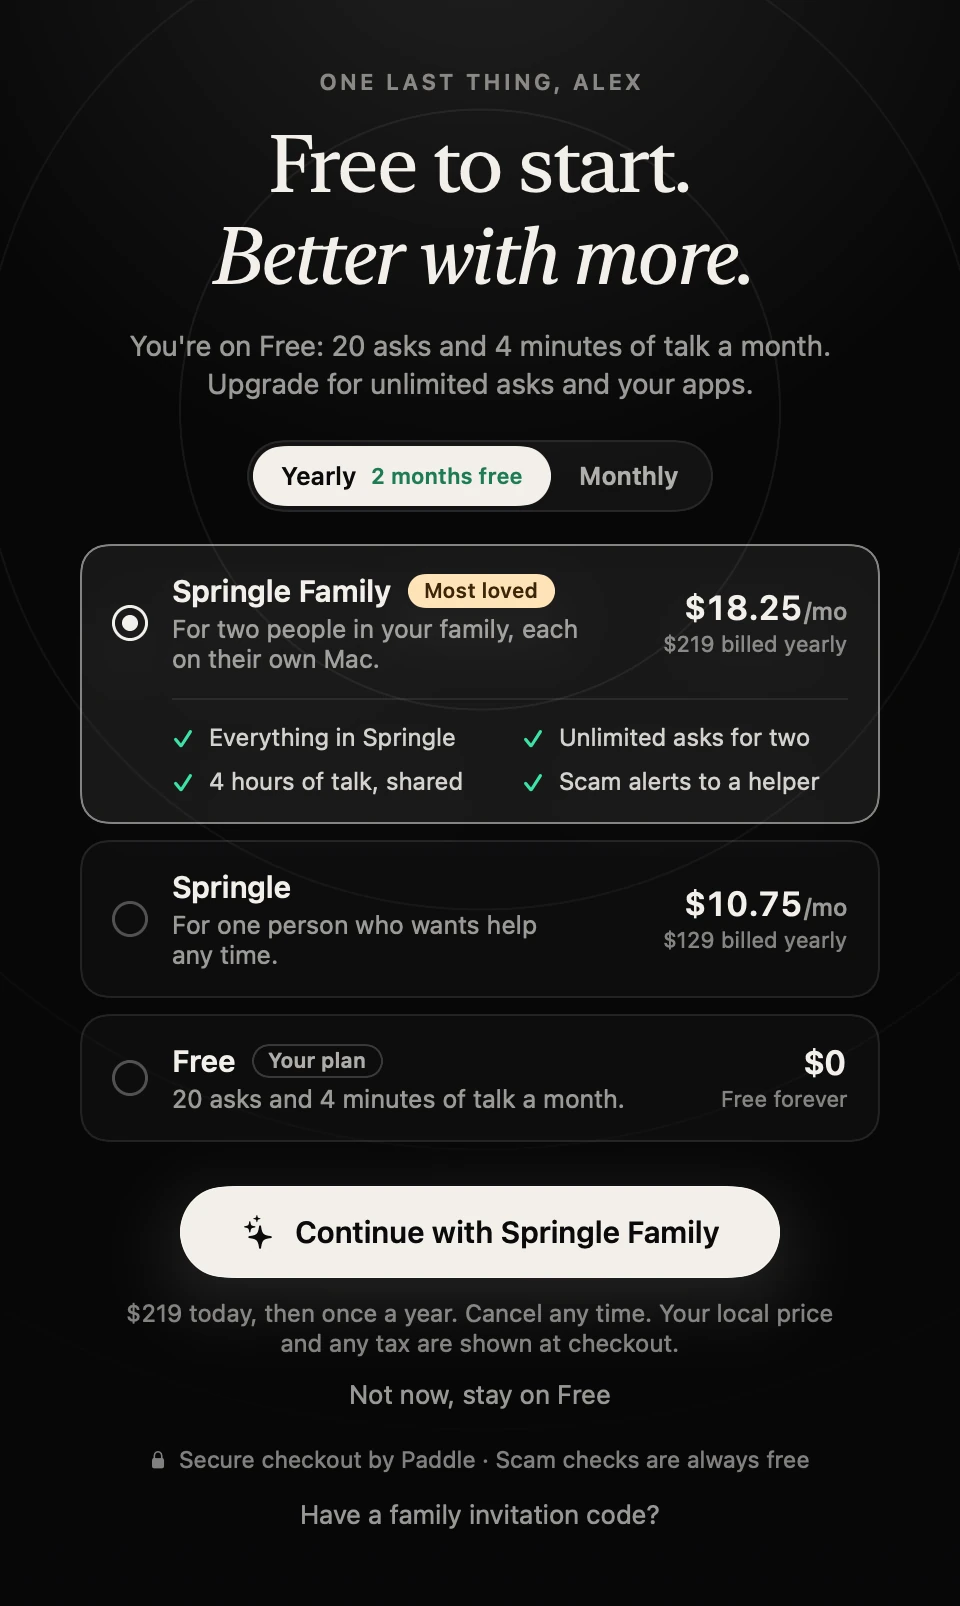
- 1Yearly or Monthly. Yearly gives two months free.
- 2The paid plans, with what each one adds.
- 3Free, the plan you start on.
- 4Continue goes to checkout in your browser for the plan you picked.
- 5Not now keeps you on Free. You can upgrade later.
After the tour, if you’re on the free plan, Springle shows the plans once. Choose one and continue to a secure checkout in your browser, or click Not now, stay on Free. If someone with Springle Family invited you, click Have a family invitation code? instead. Details: Plans.
Bring your apps along
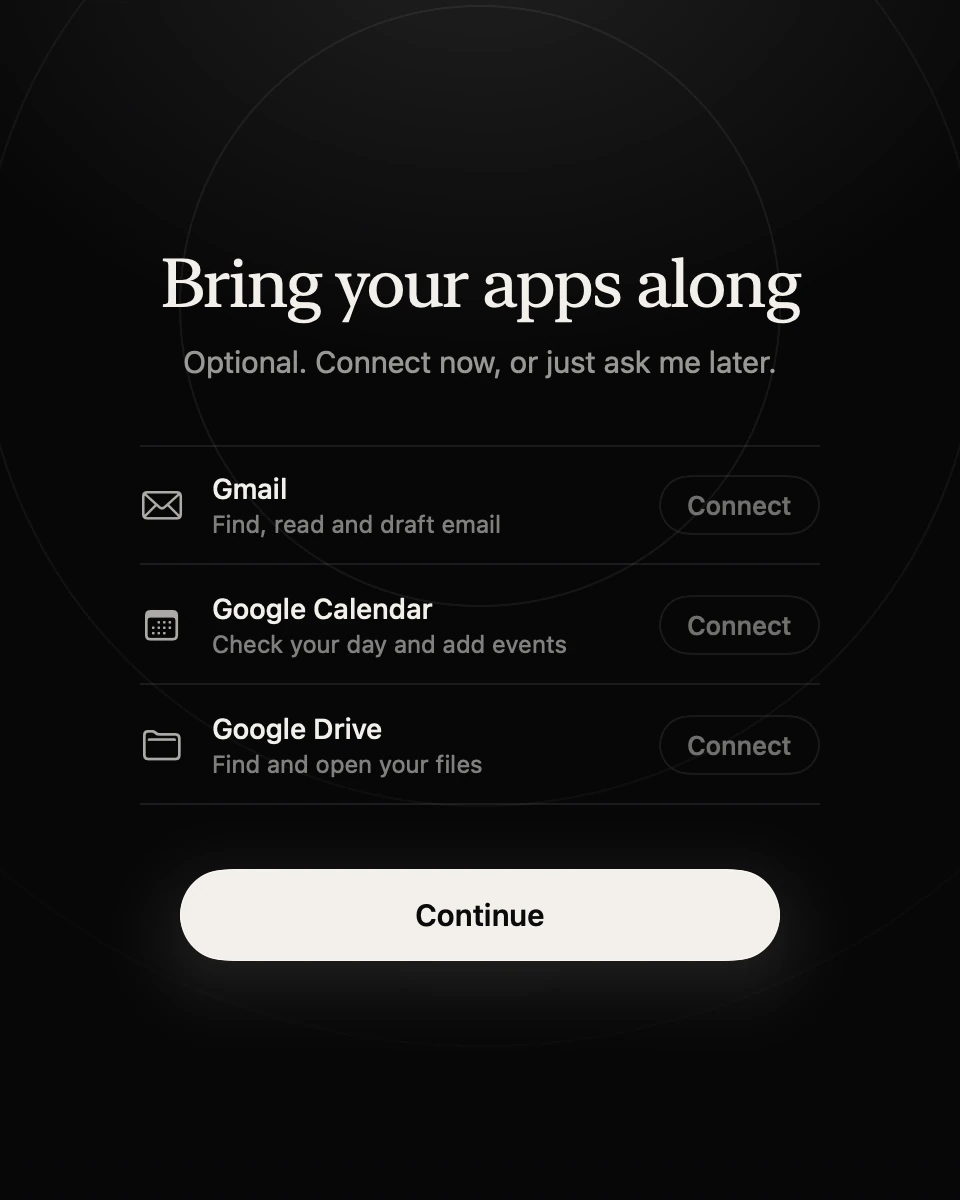
- 1Each app connects on its own, only if you click Connect.
- 2Continue when you’re ready. Every app is optional.
On a plan that includes connected apps, Springle offers to connect Gmail, Google Calendar and Google Drive. Click Connect next to one, finish in your browser, then click Continue. You can connect these and many more later in Settings › Connected apps. See Connect your apps.
Everything is set up
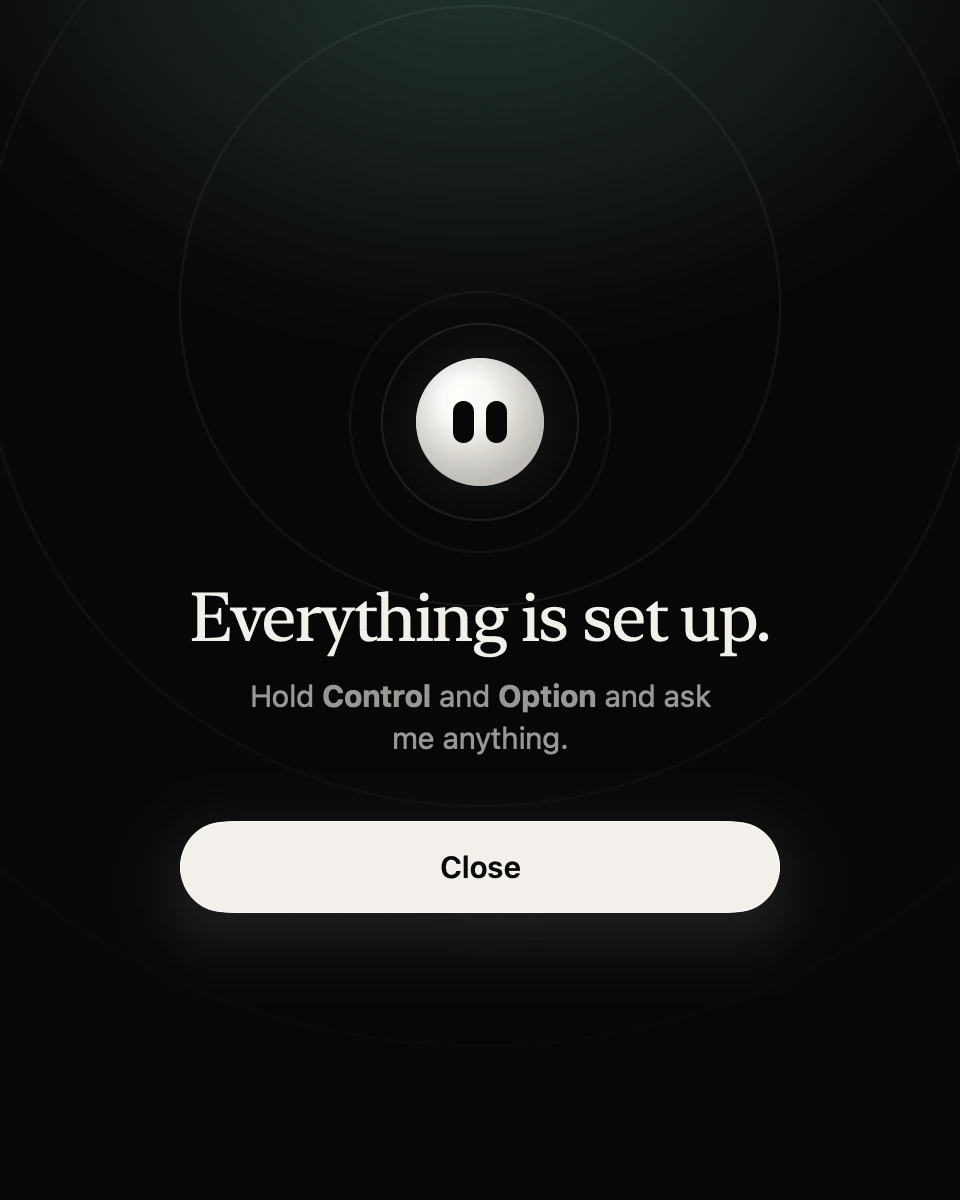
- 1The keys to remember. If you chose different ones, they show here.
- 2Close, and Springle waits at the top of your screen until you ask.
That’s it. Hold ⌃⌥ and ask for something. Your first ask has ideas.
Set up again, or finish later
- Run setup any time from Springle’s menu in the menu bar: Help › Set Up Springle…. It opens at whatever is next. While something is missing, it’s Finish Setting Up Springle… instead.
- If a permission gets switched off later, the menu shows Finish Setting Up Springle… with what’s off underneath, like "Screen Recording is off". The island says what’s missing and shows Open setup.
- Skipped the microphone and changed your mind? Hold ⌃⌥. If your Mac has never asked about the microphone for Springle, it asks now: click Allow. If it asked before, Springle offers the microphone step again: choose Finish Setting Up Springle… in the menu bar, or switch Springle on in System Settings › Privacy & Security › Microphone. See Springle can't hear me.
Still stuck? Write to support@innoventuresai.com.
Did this help?